其实就是加上
simulation = project.factory.simgr(initial_state, veritesting=True)
Veritesting
动态符号执行(DSE)和静态符号执行(SSE)一个为路径生成公式,一个为语句生成公式。前者生成公式时会产生很高的负载,但生成的公式很容易解;后者生成公式很容易,公式也能覆盖更多的路径,但是公式更长更难解。方法上的区别在于 DSE 会摘要路径汇合点上两条分支的情况,而 SSE 为两条分支 fork 两条独立的执行路径
SSE 目前还不能对大规模的程序分析(如 Cloud9+state merging),问题主要在于循环的表示、方程复杂度、缺少具体状态、和对 syscall 等的模拟。Veritesting 可以在 SSE 和 DSE 之间切换,减少负载和公式求解难度,并解决静态方法需要摘要或其他方法才能处理的系统调用和间接跳转
简单来说就是 Veritesting 结合了静态符合执行与动态符号执行,减少了路径爆炸的影响,在 angr 里我们只要在构造模拟管理器时,启用 Veritesting 了就行
project.factory.simgr(initial_state, veritesting=True)首先检测一下文件:
zxy@ubuntu:~/Desktop/TEMP$ checksec 12_angr_veritesting
[*] '/home/syc/Desktop/TEMP/12_angr_veritesting'
    Arch:     i386-32-little
    RELRO:    Partial RELRO
    Stack:    Canary found
    NX:       NX enabled
    PIE:      No PIE (0x8048000)
用 IDA 打开查看一下函数:
int __cdecl main(int argc, const char **argv, const char **envp)
{
  const char **v3; // ST1C_4
  int v4; // ST08_4
  int v5; // ebx
  int v7; // [esp-10h] [ebp-5Ch]
  int v8; // [esp-Ch] [ebp-58h]
  int v9; // [esp-8h] [ebp-54h]
  int v10; // [esp-4h] [ebp-50h]
  int v11; // [esp+4h] [ebp-48h]
  int v12; // [esp+8h] [ebp-44h]
  int v13; // [esp+Ch] [ebp-40h]
  int v14; // [esp+10h] [ebp-3Ch]
  int v15; // [esp+10h] [ebp-3Ch]
  int v16; // [esp+14h] [ebp-38h]
  signed int i; // [esp+14h] [ebp-38h]
  int v18; // [esp+18h] [ebp-34h]
  int string; // [esp+1Ch] [ebp-30h]
  int v20; // [esp+20h] [ebp-2Ch]
  int v21; // [esp+24h] [ebp-28h]
  int v22; // [esp+28h] [ebp-24h]
  int v23; // [esp+2Ch] [ebp-20h]
  int v24; // [esp+30h] [ebp-1Ch]
  unsigned int v25; // [esp+40h] [ebp-Ch]
  int *v26; // [esp+44h] [ebp-8h]

  v26 = &argc;
  v3 = argv;
  v25 = __readgsdword(0x14u);
  print_msg();
  memset((char *)&string + 3, 0, 0x21u);
  printf("Enter the password: ");
  __isoc99_scanf(
    "%32s",
    (char *)&string + 3,
    v4,
    v7,
    v8,
    v9,
    v10,
    v3,
    v11,
    v12,
    v13,
    v14,
    v16,
    v18,
    string,
    v20,
    v21,
    v22,
    v23,
    v24);
  v15 = 0;
  for ( i = 0; i <= 31; ++i )
  {
    v5 = *((char *)&string + i + 3);
    if ( v5 == complex_function(87, i + 186) )
      ++v15;
  }
  if ( v15 != 32 || (_BYTE)v25 )
    puts("Try again.");
  else
    puts("Good Job.");
  return 0;
}
int __cdecl complex_function(signed int a1, int a2)
{
if ( a1 <= 64 || a1 > 90 )
{
puts("Try again.");
exit(1);
}
return (a1 - 65 + 47 * a2) % 26 + 65;
}回忆一下 08_angr_constraints 我们很快就能发现容易产生路径爆炸的地方
for ( i = 0; i <= 31; ++i )
  {
    v5 = *((char *)&string + i + 3);
    if ( v5 == complex_function(87, i + 186) )
      ++v15;
  }
在之前我们是通过增加条件约束和 Hook 函数避免路径爆炸,我们也可以尝试一下使用之前的方法,但是这题我们启用了 Veritesting 就变得简单了很多,不用过多的手动设定太多参数
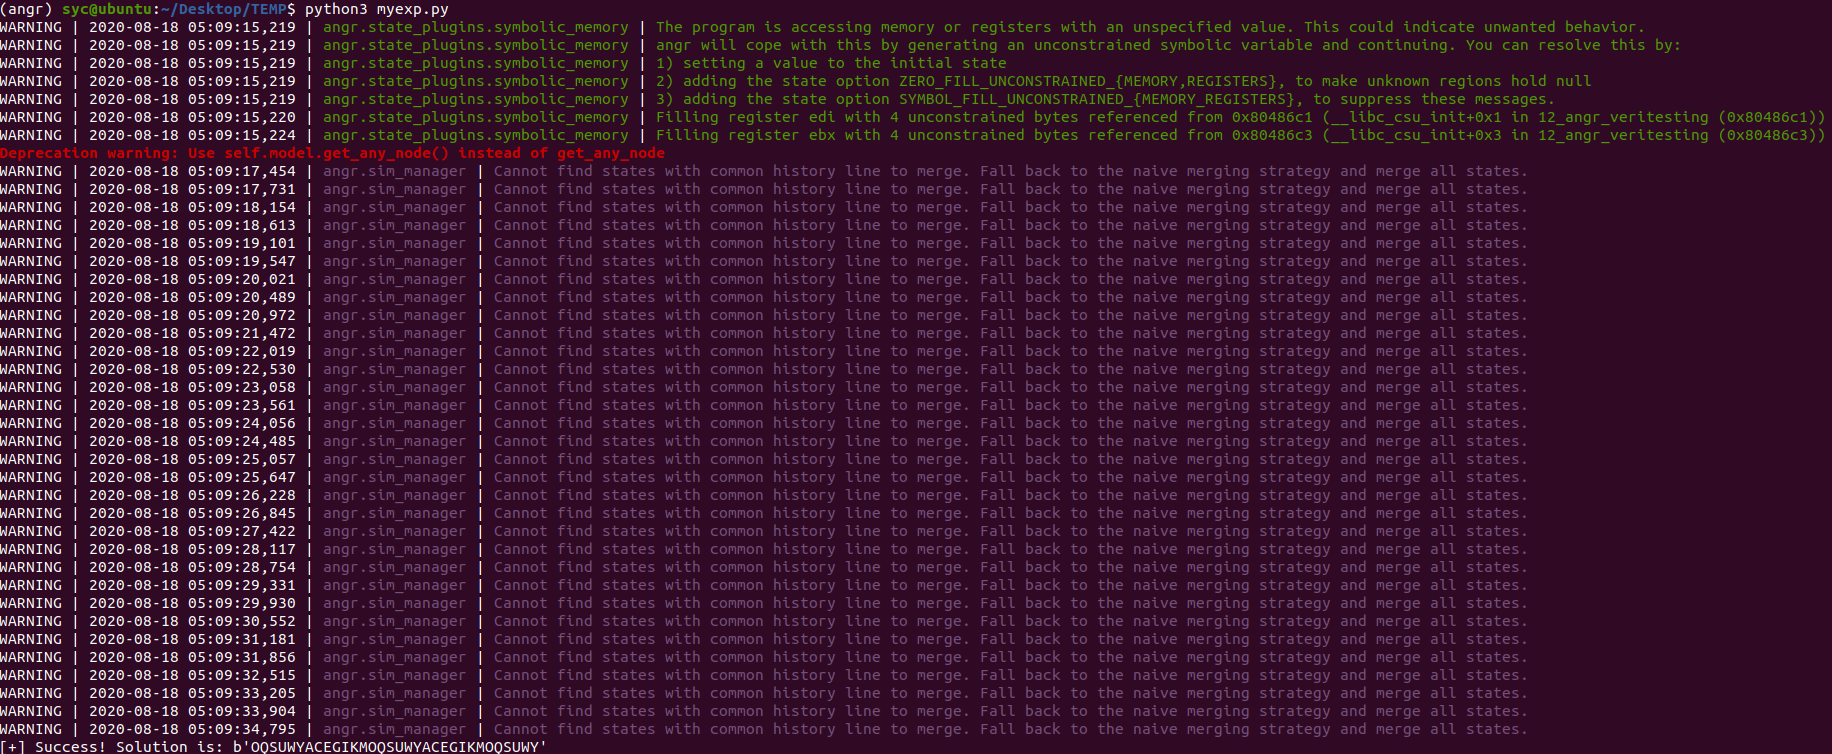
话不多说,先直接上 EXP:
import angr
import claripy
import sys

def Go():
    path_to_binary = "./12_angr_veritesting"
    project = angr.Project(path_to_binary, auto_load_libs=False)
    initial_state = project.factory.entry_state()
    simulation = project.factory.simgr(initial_state, veritesting=True)

    def is_successful(state):
        stdout_output = state.posix.dumps(1)
        if b'Good Job.\n' in stdout_output:
            return True
        else:
            return False

    def should_abort(state):
        stdout_output = state.posix.dumps(1)
        if b'Try again.\n' in  stdout_output:
            return True
        else:
            return False

    simulation.explore(find=is_successful, avoid=should_abort)

    if simulation.found:
        for i in simulation.found:
            solution_state = i
            solution = solution_state.posix.dumps(0)
            print("[+] Success! Solution is: {0}".format(solution))
            #print(scanf0_solution, scanf1_solution)
    else:
        raise Exception('Could not find the solution')

if __name__ == "__main__":
    Go()
查看一下运行结果: